Factual data: Yes, you can grow magic mushrooms outside. Cultivating mushrooms from scratch can be work, especially when starting from spores, but creating a garden patch is a great solution that minimizes the risk of contamination and provides great yields. You can plant the patch in any suitable place, such as a secluded area in the forest, and over time, the patch will establish a natural population of the fungi. To create an outdoor mushroom patch, you will need mushroom spawn, which can be obtained by using a fully colonized grow kit or by starting with a bag of sterile grain that can be inoculated with a spore syringe. Once you have the spawn, you can create the patch by layering sterilized sawdust and spawn in buckets or cardboard boxes. The patch should be placed in an area with indirect sunlight, preferably where grass and shrub meet the forest, and with access to a subsurface flow of water. After creating the patch, you will need to wait for a few months to allow the mycelium to properly acclimatize and colonize the wood chips before the mushrooms start growing.
Key Takeaways:
Table of Contents
- Outdoor mushroom cultivation is possible and offers great yields with minimal contamination risk.
- Creating an outdoor mushroom patch requires mushroom spawn, which can be obtained from a grow kit or by inoculating sterile grain with a spore syringe.
- The patch should be placed in an area with indirect sunlight and access to a subsurface flow of water.
- Allow a few months for the mycelium to acclimatize and colonize the wood chips before mushrooms start growing.
- A secluded area in the forest where grass and shrub meet the forest is an ideal location for the patch.
Are you interested in cultivating magic mushrooms? Growing them outdoors can offer a range of benefits. Not only does it provide a natural environment for the mushrooms to thrive, but it also minimizes the risk of contamination, resulting in higher yields. By following the best outdoor growing techniques and implementing organic practices, you can enjoy a successful and sustainable mushroom cultivation experience.
Here are some outdoor mushroom cultivation tips to help you get started:
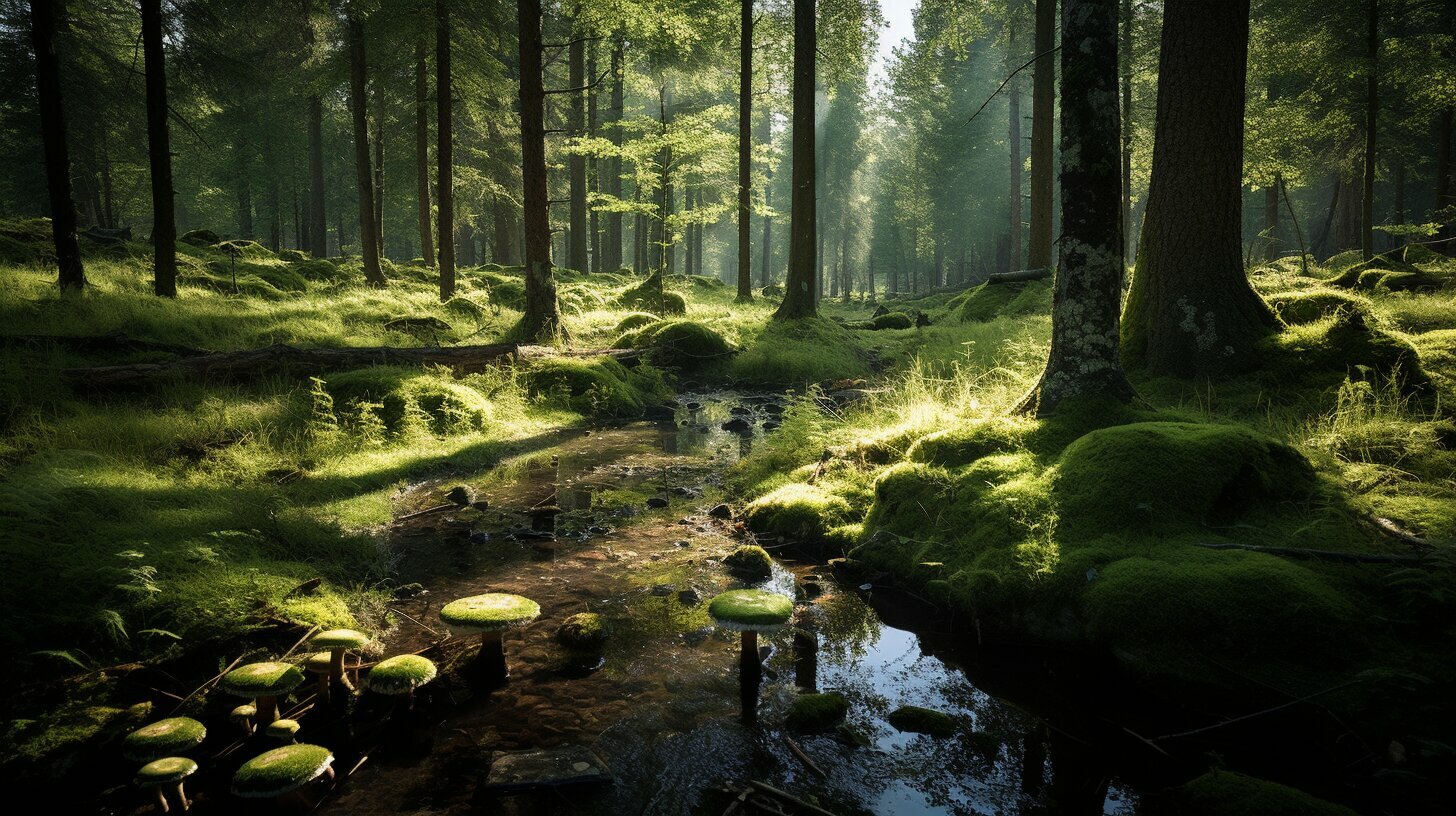
- Choose the right location: Find a secluded area in the forest where grass and shrubs meet the forest. This will provide the ideal growing conditions with indirect sunlight and access to a subsurface flow of water.
- Prepare the mushroom spawn: Obtain fully colonized grow kits or start with a bag of sterile grain that can be inoculated with a spore syringe. This will serve as the foundation for your outdoor mushroom patch.
- Establish the mushroom patch: Layer sterilized sawdust and spawn in buckets or cardboard boxes. This will create the necessary environment for the mycelium to grow and colonize the wood chips.
- Care for your mushroom patch: Ensure the patch receives proper lighting, watering, and protection from pests and diseases. Regularly monitor its progress and make any necessary adjustments to maintain the optimal growing conditions.
By following these organic outdoor mushroom cultivation practices, you can enjoy a bountiful harvest of magic mushrooms in your own backyard. Embrace the natural wonders of outdoor cultivation and experience the joy of growing your own magical fungi.
Table: Outdoor Mushroom Cultivation Tips
| Tip | Description |
|---|---|
| Choose the right location | Find a secluded area in the forest with indirect sunlight and access to a subsurface flow of water. |
| Prepare the mushroom spawn | Obtain fully colonized grow kits or start with a bag of sterile grain that can be inoculated with a spore syringe. |
| Establish the mushroom patch | Layer sterilized sawdust and spawn in buckets or cardboard boxes to create the ideal growing environment. |
| Care for your mushroom patch | Ensure proper lighting, watering, and protection from pests and diseases to maintain optimal growing conditions. |
Remember, outdoor mushroom cultivation is not only rewarding but also a sustainable way to enjoy the magic of mushrooms. Start your own outdoor mushroom patch today and cultivate your very own supply of magical fungi.
Getting Started: Creating an Outdoor Mushroom Patch
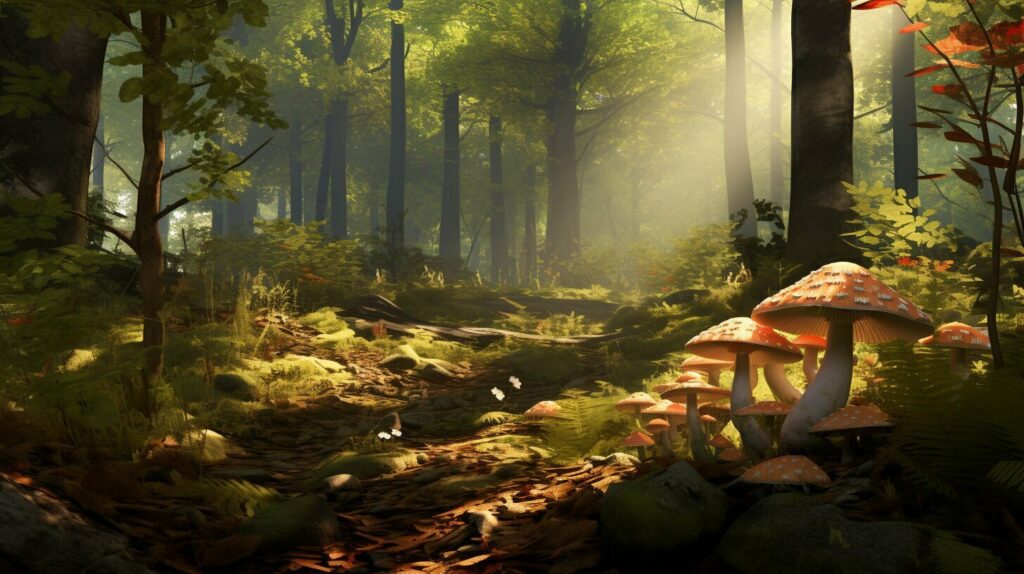
Are you interested in outdoor mushroom cultivation but not sure where to begin? Creating an outdoor mushroom patch is a great way to grow magic mushrooms with minimal risk of contamination and achieve impressive yields. Whether you have a secluded area in the forest or a small outdoor space, you can establish a thriving mushroom patch that will provide you with a bountiful harvest.
To get started, you will need mushroom spawn, which is the mycelium or “seed” of the mushroom. There are two ways to obtain mushroom spawn: using a fully colonized grow kit or starting with a bag of sterile grain that can be inoculated with a spore syringe. Once you have your spawn, you can begin creating your outdoor mushroom patch.
To create the patch, layer sterilized sawdust and spawn in buckets or cardboard boxes. This provides a suitable growing medium for the mushrooms. You can place the patch in an area with indirect sunlight, preferably where grass and shrubs meet the forest. This location ensures a natural environment for the mushrooms to thrive. Access to a subsurface flow of water is also ideal for optimal moisture levels.
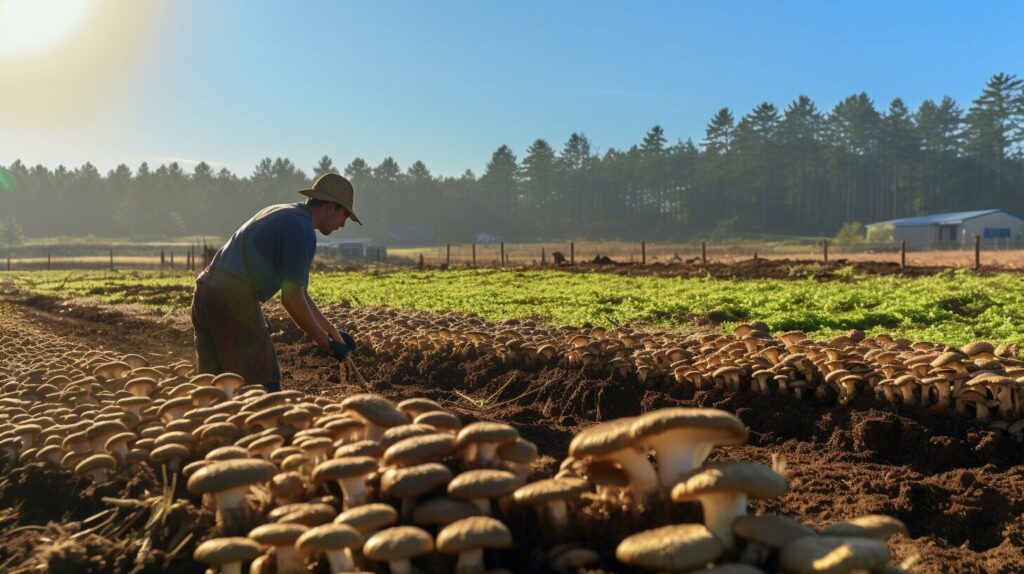
After setting up your patch, it’s important to be patient. It will take a few months for the mycelium to acclimatize and colonize the wood chips before the mushrooms start growing. During this waiting period, it’s crucial to provide the patch with adequate care and maintenance. This includes proper lighting, watering, and protection from pests and diseases. By following these steps, you’ll be well on your way to a successful outdoor mushroom cultivation journey.
Table 1: Outdoor Mushroom Growing Supplies
| Supply | Description |
|---|---|
| Mushroom spawn | The mycelium or “seed” of the mushroom that will grow into fruiting bodies. |
| Sterilized sawdust | A suitable growing medium that provides the necessary nutrients for the mushrooms. |
| Buckets or cardboard boxes | Containers to hold the mushroom patch and allow for proper growth. |
| Indirect sunlight | A location that provides filtered sunlight, suitable for mushroom growth. |
| Subsurface water access | The availability of a water source for optimal moisture levels. |
Now that you have a better understanding of how to create an outdoor mushroom patch, you can confidently embark on your mushroom cultivation journey. Remember to follow the steps outlined above and provide proper care and maintenance to ensure successful outdoor mushroom cultivation. Happy growing!
Choosing the Right Location
When it comes to outdoor mushroom cultivation, selecting the right location is crucial. The success of your mushroom patch depends on finding an area that provides the ideal growing conditions. Here are some key factors to consider:
- Sunlight: Outdoor mushrooms thrive in areas with indirect sunlight. Look for a spot that offers dappled shade or partial sun, such as where the edge of a forest meets a grassy area. This will provide the perfect amount of light for the mushrooms to grow.
- Water: Mushrooms require a consistent supply of moisture. Ideally, your chosen location should have access to a subsurface flow of water, such as a stream or a natural spring. This will ensure that your mushroom patch remains adequately hydrated.
- Soil: While mushrooms don’t rely on soil for their nutrients, they do benefit from a nutrient-rich environment. Choose a location with fertile soil that contains organic matter. This will provide the necessary nutrients for the mushrooms to thrive.
- Proximity to Trees: Outdoor mushrooms have a symbiotic relationship with trees. They rely on the presence of certain tree species to establish their mycelium and receive nutrients. Look for a location where there are trees nearby, preferably ones that are compatible with the type of mushrooms you plan to grow.
By taking these factors into consideration, you can ensure that your outdoor mushroom patch has the best chance of success. Remember, finding the right location is the first step towards a bountiful harvest of magic mushrooms.
| Factor | Ideal Condition |
|---|---|
| Sunlight | Dappled shade or partial sun |
| Water | Access to a subsurface flow of water |
| Soil | Fertile soil with organic matter |
| Proximity to Trees | Trees compatible with mushroom species |
Remember, finding the right location is the first step towards a bountiful harvest of magic mushrooms.
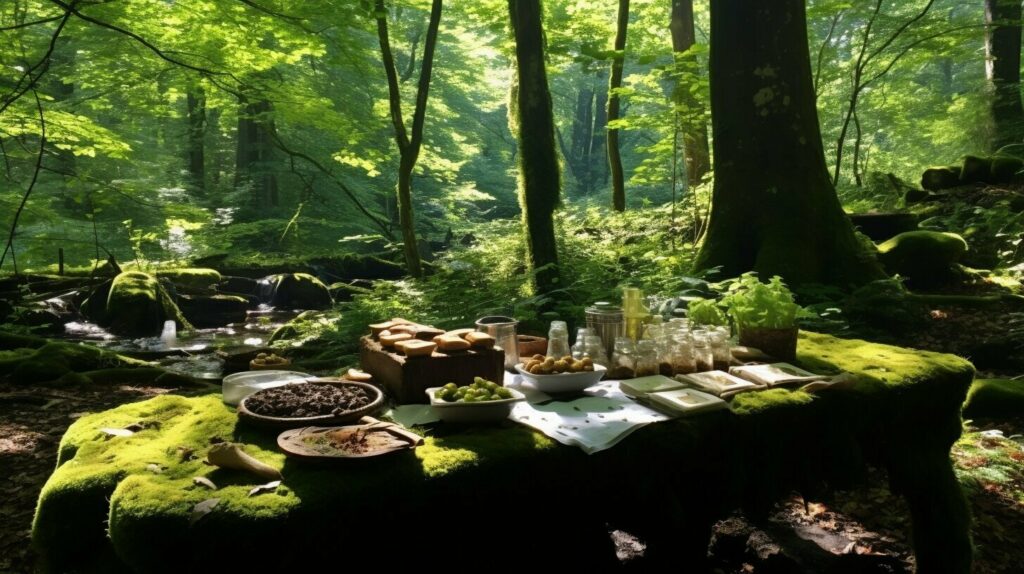
Now that you understand the key factors to consider, it’s time to choose the ideal spot for your outdoor mushroom patch. Start by scouting potential locations in your area, keeping these factors in mind. Look for a secluded area in the forest or a quiet corner of your garden that meets the necessary criteria. Take note of the soil quality, the amount of sunlight the area receives, and the availability of water sources.
Once you have found a suitable location, mark out the area where you plan to create your patch. Clear away any debris or vegetation to create a clean space for your mushrooms to grow. Remember that patience is key – it may take a few tries to find the perfect spot that provides optimal conditions for outdoor mushroom cultivation.
Preparing the Mushroom Spawn
Now that you’ve chosen the perfect location for your outdoor mushroom patch, it’s time to prepare the mushroom spawn. The spawn acts as the “seed” for your mushrooms, providing the mycelium necessary for their growth. There are a few different options for obtaining mushroom spawn, depending on your level of experience and resources.
If you’re new to mushroom cultivation, a fully colonized grow kit is a great option. These kits come with pre-inoculated substrate that is ready to be transferred to your patch. Simply follow the instructions provided with the kit to ensure successful growth. Alternatively, you can start with a bag of sterile grain that can be inoculated with a spore syringe. This method requires more hands-on work but can be a rewarding experience for those looking to start from scratch.
Once you have your mushroom spawn, it’s time to create your patch. You will need buckets or cardboard boxes to layer the sterilized sawdust and spawn. The ratio of sawdust to spawn will vary depending on the type of mushrooms you’re growing, so be sure to research the specific requirements for your chosen variety. Layer the materials, starting with a base of sterilized sawdust, followed by a layer of spawn, and continue until the container is full. Make sure to leave some space at the top for the mycelium to grow and expand.
| Materials needed for creating the patch: | Instructions: |
|---|---|
| Buckets or cardboard boxes | Collect a sufficient number of buckets or cardboard boxes to accommodate your desired patch size. |
| Sterilized sawdust | Prepare the sawdust by sterilizing it to eliminate any potential contaminants. |
| Mushroom spawn | Obtain your chosen mushroom spawn, either from a pre-colonized grow kit or by inoculating sterile grain with a spore syringe. |
Once your patch is created, place it in an area with indirect sunlight, preferably where grass and shrub meet the forest. This location provides the ideal balance of light and shade for mushroom growth. Ensure the patch has access to a subsurface flow of water, as mushrooms require consistent moisture to thrive.
Remember: Patience is key when growing mushrooms outdoors. After creating the patch, allow a few months for the mycelium to acclimatize and colonize the wood chips before the mushrooms start to appear. During this waiting period, it’s important to maintain the optimal growing conditions by keeping the patch moist and protecting it from extreme weather conditions.
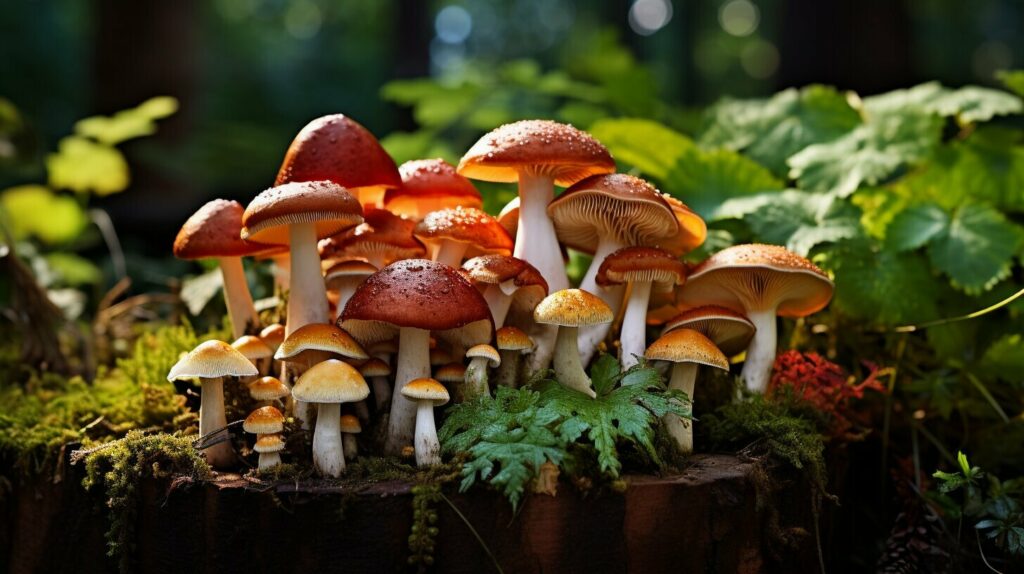
Establishing the Mushroom Patch
Creating an outdoor mushroom patch is an exciting endeavor for beginners in mushroom cultivation. By following a few simple steps, you can set up a thriving patch that will eventually yield a bountiful harvest of magic mushrooms. Here’s a guide to help you get started:
Gather Your Supplies
Before you begin, make sure you have all the necessary supplies. You will need mushroom spawn, which can be obtained through fully colonized grow kits or by inoculating sterile grain with a spore syringe. Additionally, gather sterilized sawdust, which will serve as the base for your mushroom patch. You can also use cardboard boxes or buckets to contain the patch. Having all your supplies ready will ensure a smooth setup process.
Layering the Spawn and Sawdust
Once you have your supplies, it’s time to create the mushroom patch. Start by layering sterilized sawdust and mushroom spawn. Fill your chosen container with a layer of sawdust and then evenly distribute the spawn on top. Repeat this process, alternating between layers of sawdust and spawn until the container is filled. Make sure to leave some space at the top for future growth.
Choosing the Right Location
Placement of your mushroom patch is crucial for successful growth. Choose an area with indirect sunlight, preferably where grass and shrub meet the forest. This location will provide the necessary shade and moisture for optimal mushroom cultivation. Additionally, ensure there is access to a subsurface flow of water to keep the patch hydrated. By selecting the right location, you can create an ideal environment for your mushrooms to thrive.
With these steps, you can establish an outdoor mushroom patch and start your journey into successful mushroom cultivation. Remember to be patient, as it can take a few months for the mycelium to acclimatize and colonize the wood chips before the mushrooms begin to grow. Stay dedicated to maintaining the patch and soon you’ll be rewarded with a magical harvest.
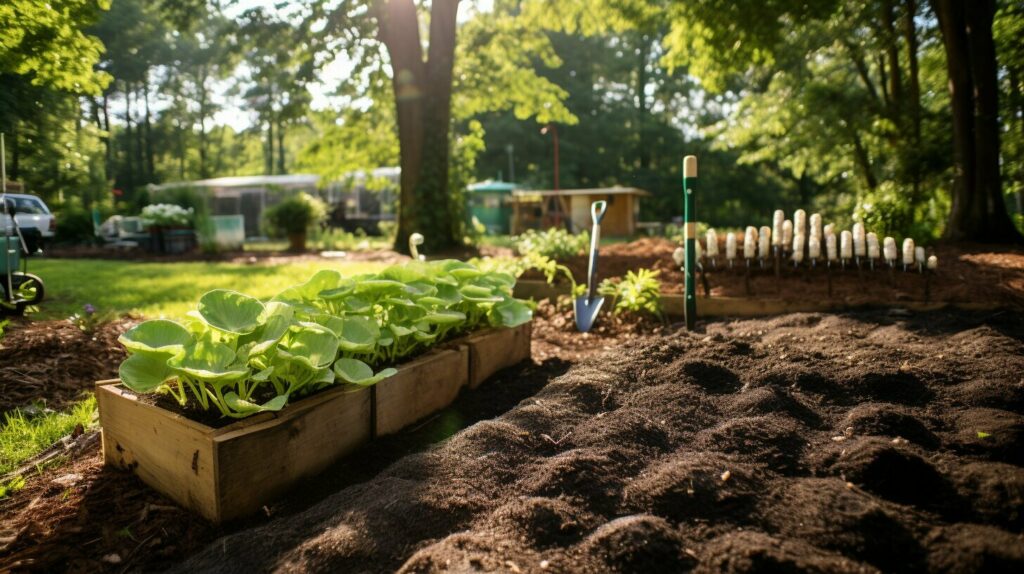
Successful outdoor mushroom cultivation requires proper care and maintenance of your mushroom patch. To ensure optimal growth and yield, it’s important to provide the right conditions and protect your patch from potential threats such as pests and diseases. Here are some essential tips to help you care for your outdoor mushroom patch:
- Lighting: While mushrooms thrive in shady environments, they still require some indirect sunlight for photosynthesis. Place your patch in an area that receives dappled sunlight or indirect light throughout the day. This will help the mushrooms develop their characteristic caps and prevent elongation of stems.
- Watering: Maintaining the right moisture level is crucial for mushroom growth. Keep the patch consistently moist, but not overly saturated. Regularly water the area to ensure the substrate remains damp, but avoid excessive watering, as it can lead to waterlogged conditions and encourage mold or bacterial contamination.
- Pest and Disease Control: Protecting your patch from pests and diseases is essential for a successful harvest. Regularly inspect the area for any signs of pests or fungal infections. If you notice any issues, promptly remove the affected mushrooms or apply appropriate organic pesticides or fungicides to minimize damage. Maintaining good hygiene and cleanliness in and around the patch will also help prevent contamination.
Remember, each mushroom species has specific care requirements, so it’s important to do research on the particular variety you are growing. Additionally, monitoring temperature and humidity levels can greatly impact the success of your outdoor mushroom patch. With proper care and attention, your patch will provide you with a bountiful harvest of delicious mushrooms.
Quote:
“Providing the right conditions and protecting your outdoor mushroom patch from potential threats will ensure healthy growth and a successful harvest.”
For the full guide on outdoor mushroom cultivation, including information on establishing the patch and preparing mushroom spawn, refer to the previous sections of this article.
| Lighting | Watering | Pest and Disease Control |
|---|---|---|
| Shady environment with dappled sunlight. | Consistently moist, not waterlogged. | Regular inspections, prompt action, and hygiene maintenance. |
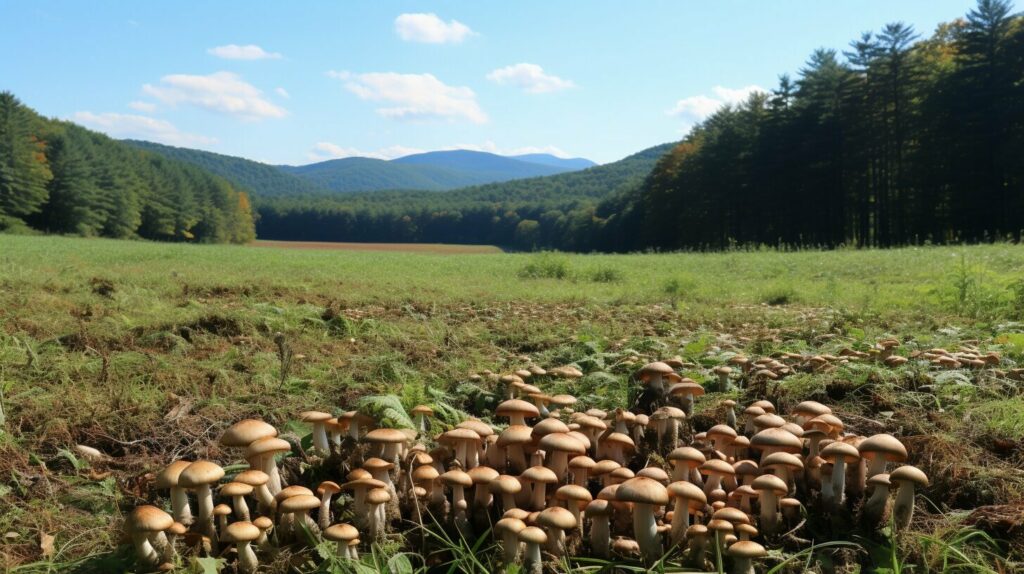
By following these care tips, you can ensure the success of your outdoor mushroom cultivation. With patience and attention to detail, you’ll soon be rewarded with a bountiful harvest of flavorful and nutritious mushrooms from your very own patch.
Waiting for the Mushrooms to Grow
After creating your outdoor mushroom patch, the waiting game begins. Patience is key, as it takes time for the mycelium to acclimatize and colonize the wood chips before the mushrooms start growing. This process can take several months, but the rewards are well worth it. While waiting, there are a few key factors to keep in mind to ensure successful outdoor mushroom cultivation.
First and foremost, it’s important to maintain the right environmental conditions. Outdoor mushroom patches require indirect sunlight, preferably in an area where grass and shrub meet the forest. This provides the necessary shade and moisture for optimal mushroom growth. Additionally, ensure that the patch has access to a subsurface flow of water, as mushrooms thrive in a consistently moist environment. Regularly check the patch for any signs of drying out and adjust watering accordingly.
During this waiting period, it’s crucial to be patient and resist the temptation to disturb the patch. The mycelium needs time to spread and colonize the wood chips, establishing a strong network beneath the surface. Avoid unnecessary disturbances or excessive handling, as this can disrupt the growth process and increase the risk of contamination. Instead, allow nature to take its course and trust in the resilience of the mushrooms.
| Key Tips for Waiting for the Mushrooms to Grow: |
|---|
| 1. Maintain a consistently moist environment for optimal growth. |
| 2. Avoid disturbing or handling the patch unnecessarily. |
| 3. Be patient and wait for several months for the mycelium to colonize the wood chips. |
Remember, outdoor mushroom cultivation requires some waiting, but it’s a rewarding process that can yield impressive results. By providing the right conditions and allowing nature to take its course, you’ll soon be rewarded with a bountiful harvest of magic mushrooms.
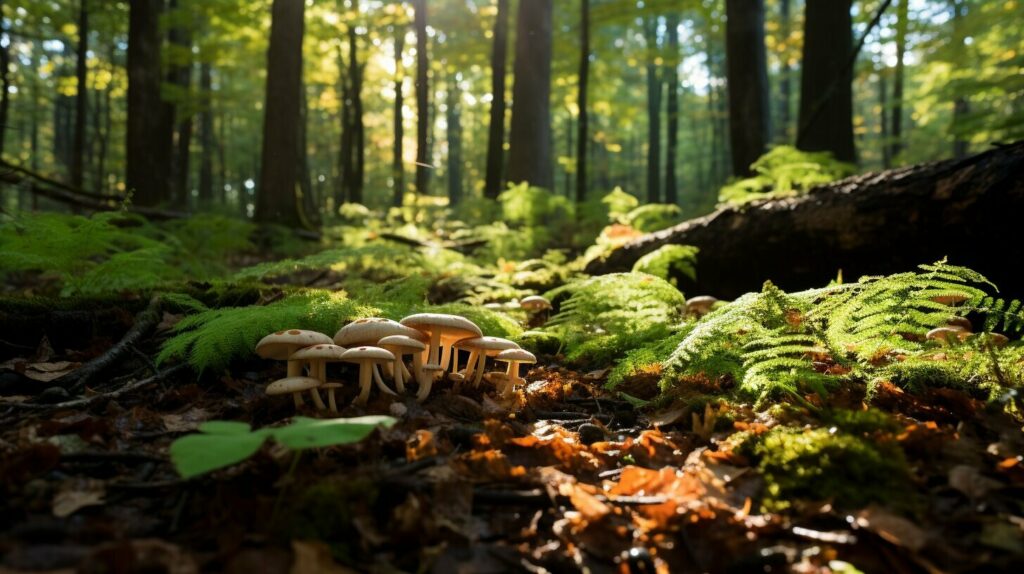
Yes, you can grow magic mushrooms outside! Outdoor mushroom cultivation offers a great solution for those looking to minimize contamination risks and enjoy bountiful yields. By creating a garden patch in a suitable location, such as a secluded area in the forest, you can establish a natural population of these fascinating fungi.
To get started with outdoor mushroom cultivation, you’ll need mushroom spawn. This can be obtained through a fully colonized grow kit or by starting with a bag of sterile grain that can be inoculated with a spore syringe. Once you have your spawn, the next step is to create the patch.
Creating the patch involves layering sterilized sawdust and spawn in buckets or cardboard boxes. It’s important to choose the right location for your patch, preferably an area with indirect sunlight where the grass and shrub meet the forest. Access to a subsurface flow of water is also beneficial for the growth of your mushrooms.
After setting up the patch, you’ll need to exercise patience. Allow a few months for the mycelium to acclimatize and colonize the wood chips before the mushrooms emerge. With proper care and attention to lighting, watering, and protection against pests and diseases, you’ll soon be rewarded with a beautiful harvest of magic mushrooms from your outdoor patch.
FAQ
Q: Can you grow magic mushrooms outside?
A: Yes, you can grow magic mushrooms outside. Outdoor mushroom cultivation is a great solution that minimizes the risk of contamination and provides great yields.
Q: What are the benefits of outdoor mushroom cultivation?
A: The benefits of outdoor mushroom cultivation include the best techniques for outdoor growing, helpful tips for successful organic mushroom growth, and the opportunity to enjoy the process of cultivating your own mushrooms in a natural setting.
Q: How do you get started with creating an outdoor mushroom patch?
A: To create an outdoor mushroom patch, you will need mushroom spawn, which can be obtained by using a fully colonized grow kit or by starting with a bag of sterile grain that can be inoculated with a spore syringe. Once you have the spawn, you can layer sterilized sawdust and spawn in buckets or cardboard boxes to create the patch.
Q: What should you consider when choosing the right location for outdoor mushroom cultivation?
A: When choosing the right location for outdoor mushroom cultivation, it is important to consider factors such as indirect sunlight, access to a subsurface flow of water, and a place where grass and shrub meet forest.
Q: How do you prepare the mushroom spawn for outdoor cultivation?
A: To prepare the mushroom spawn for outdoor cultivation, you can use a fully colonized grow kit or start with a bag of sterile grain that can be inoculated with a spore syringe.
Q: How do you establish the mushroom patch?
A: To establish the mushroom patch, layer sterilized sawdust and spawn in buckets or cardboard boxes. Place the patch in an area with indirect sunlight, preferably where grass and shrub meet forest, and with access to a subsurface flow of water.
Q: How do you care for your outdoor mushroom patch?
A: Caring for your outdoor mushroom patch involves providing the patch with proper lighting, watering, and protection from pests and diseases.
Q: How long do you need to wait for the mushrooms to grow?
A: After creating the outdoor mushroom patch, you will need to wait for a few months to allow the mycelium to properly acclimatize and colonize the wood chips before the mushrooms start growing.

